
Knowledge hub
Heat Pump Condensate Drain Freezing: 6 Fixes
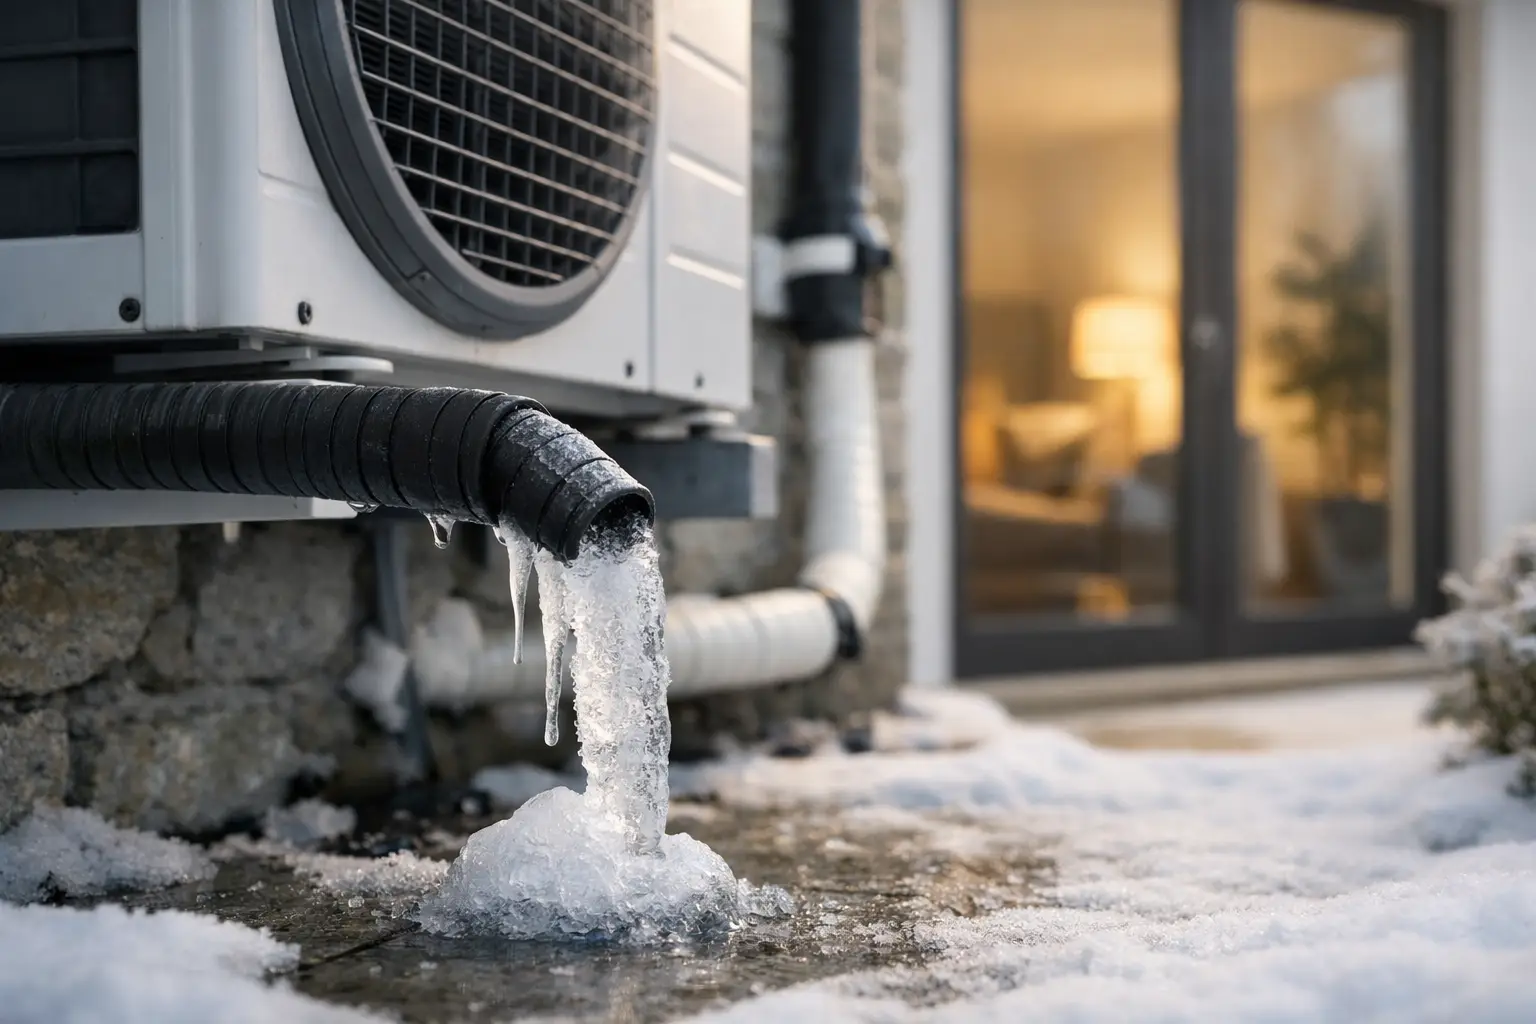
A heat pump producing water beneath its outdoor unit during cold weather is usually doing exactly what it should. During defrost cycles, frost melted from the outdoor coil has to leave through the unit base and drainage arrangement. The problem begins when heat pump condensate drain freezing traps that water in the base tray, turns the area below the unit into an ice sheet, or allows meltwater to refreeze against pipework and the fan section.
This is not a minor housekeeping issue. Repeated ice build-up can obstruct drainage holes, distort or damage a drain tray, create a slip hazard and, in severe cases, interfere with fan operation. A reliable cure starts with identifying whether the restriction is in the unit, the drain connection, the pipe run or the point where water finally discharges.
Why heat pump condensate drain freezing happens
An air-source heat pump periodically reverses its refrigeration cycle to defrost the outdoor coil. The resulting water is often released quickly rather than as a slow, continuous trickle. In damp conditions close to 0°C, there may be a considerable volume of water to manage. If it meets a cold surface, a narrow outlet or a poorly routed pipe, it can freeze before it has drained away.
The most common cause is an external drain line that is too small, too long or insufficiently sloped. A nearly level pipe can retain a small amount of water after every defrost cycle. That residual water freezes first, progressively narrowing the bore until the next discharge backs up into the unit.
Drainage can also fail where the outdoor unit is installed too close to the ground. Water may fall directly onto paving or soil, then freeze and build upwards towards the underside of the heat pump. A base raised on correctly selected mounting brackets gives meltwater room to fall and move away. The clearance required is site-specific: locations with frequent frost, drifting snow or poor ground drainage need more consideration than a sheltered wall in a mild area.
Not every outdoor heat pump should have every available drain hole connected to pipework. Some manufacturer designs are intended to discharge freely from the base, while others use designated drain outlets or compatible drain-pan accessories. Blocking non-designated openings, fitting unsuitable plugs or joining several outlets into a restrictive small pipe can create a problem that was not present in the original design. Always follow the unit installation instructions before altering the base tray.
First establish where the ice starts
Inspect the system during a thaw or soon after a defrost cycle, with the heat pump isolated if access requires removing any covers. Look beneath the unit first. If water is escaping from the base but freezing on the ground, the issue is discharge management rather than an internal blockage. If water remains in the tray or emerges from unexpected seams, check the drain holes and outlet fittings for leaves, silt, insects or ice.
Then follow the full route to the termination point. Look for dips in flexible hose, tight elbows, crushed sections, exposed joints and sections that run uphill. Flexible condensate hose is useful where alignment is difficult, but it must be continuously supported. A sag that holds water behaves like a small trap and will freeze long before a straight, free-draining run.
Also consider the weather pattern. A drain arrangement can appear satisfactory through occasional light frost yet fail after repeated defrost cycles in a prolonged cold spell. The relevant question is not simply whether water leaves the unit once, but whether the complete path empties after each cycle.
Do not confuse defrost water with a refrigerant fault
Water below an outdoor unit in winter is often normal. Frost on the outdoor coil followed by a period of steam-like vapour and water discharge commonly indicates a defrost cycle. However, persistent heavy icing of the coil, unusual noise, reduced heating output or fault codes require assessment by a qualified heat-pump engineer. Drainage improvements cannot correct a refrigerant charge, sensor, fan or control fault.
Six practical fixes for a freezing condensate drain
1. Clear and protect the unit’s intended drainage points
Remove loose debris and surface ice from accessible drainage holes without forcing tools into the coil or base tray. Check that any fitted drain connectors are fully seated and that seals are undamaged. Do not drill extra holes in the heat-pump casing or tray unless the manufacturer explicitly permits it; coatings, internal components and corrosion protection can be affected.
Where a purpose-made base-tray drain kit is available for the model, it is usually safer than adapting generic fittings. Compatibility matters because outlet position, thread or clip design, and the way the tray drains during defrost vary between units.
2. Improve the fall and avoid water traps
Any piped section needs a continuous downward fall towards the discharge point. Keep the route short, use gradual changes of direction and support it at regular intervals so it cannot sag. A larger-bore pipe can be more tolerant of partial ice formation than a narrow hose, but pipe diameter should be selected around the unit’s specified outlet and expected defrost-water flow, not guessed.
Avoid routing the drain through enclosed areas where a leak could damage walls or floors. Equally, do not terminate it where it can freeze across a doorstep, path, vehicle access area or neighbour’s boundary. The discharge location is part of the heat-pump installation, not an afterthought.
3. Raise the outdoor unit appropriately
A stable raised installation helps in two ways: it provides working clearance below the base tray and prevents accumulated ice from reaching the unit. Wall brackets or ground mounting frames should be suitable for the unit weight, vibration load, outdoor exposure and fixing surface. Anti-vibration mounts can reduce transmitted noise, but they must not compromise stability or create a low point that restricts drainage.
For ground-mounted installations, assess whether the surrounding surface can absorb or channel water. Gravel beneath the unit may help drainage in suitable ground conditions, whereas impermeable paving may require a deliberate route to a safe drain point.
4. Use frost protection only where it is justified
In colder sites, a compatible heated base tray, drain-pan heater or trace-heated external drain route may be necessary. These measures use electrical energy, so they are not automatically the best choice for every installation. They are most useful where free discharge is impractical, the pipe route is unavoidable, or temperatures remain below freezing for long periods.
The heater must be specified for outdoor HVAC use, installed in line with the heat-pump manufacturer’s requirements and protected electrically by a competent installer. Heating only one short section may not solve the issue if water can still collect and freeze elsewhere in the run. The control method, temperature range, cable length and power supply arrangement all need checking before purchase.
5. Insulate exposed pipework with realistic expectations
Closed-cell insulation can reduce heat loss from a drain line and protect it from wind, but insulation alone does not stop standing water from freezing during sustained sub-zero weather. It works best alongside correct fall, adequate pipe diameter and, where necessary, active frost protection.
Choose outdoor-suitable insulation with sealed joints and mechanical protection where it may be exposed to sunlight, wildlife or accidental damage. Wet or split insulation can hold moisture against the pipe and offers little benefit.
6. Maintain the route before winter, not during an ice event
Before the first prolonged cold period, inspect brackets, pipe clips, drain outlets and the ground beneath the unit. Clear leaves and sediment, confirm that the pipe remains supported, and run water through an accessible route where this can be done without introducing water into electrical areas. Recheck after building work, garden changes or replacement of paving, as small alterations can change the discharge path.
Indoor condensate drains need a different approach
Some systems also have an indoor hydraulic module, fan coil or air-conditioning function that produces condensate. This drain is not the same as the outdoor defrost-water route. Indoor condensate pipework can suffer from poor fall, blocked traps, algae growth or inadequate insulation, particularly where cooling operation is used.
A condensate pump may be needed where gravity fall is impossible, but the pump must suit the expected flow, lift height and available installation space. It should also have a safe alarm arrangement where overflow could damage a ceiling or finished wall. For gravity systems, use a correctly designed siphon where required by the equipment manufacturer, while avoiding unnecessary traps in an outdoor line that must empty fully in freezing conditions.
HavenPoint supplies specialist condensate-management components for installers and property owners who need to build a complete route rather than rely on improvised hose connections. Match materials to outdoor temperature exposure, pipe size, fitting type and the specific heat-pump installation instructions.
A drain that empties freely after every defrost cycle is far more dependable than one that merely works on a mild day. Treat the outlet, pipe fall, mounting height and discharge area as one system, and winter icing becomes a design issue you can resolve before it interrupts heating.