
Knowledge hub
Air Conditioner Drain Hose Replacement Guide
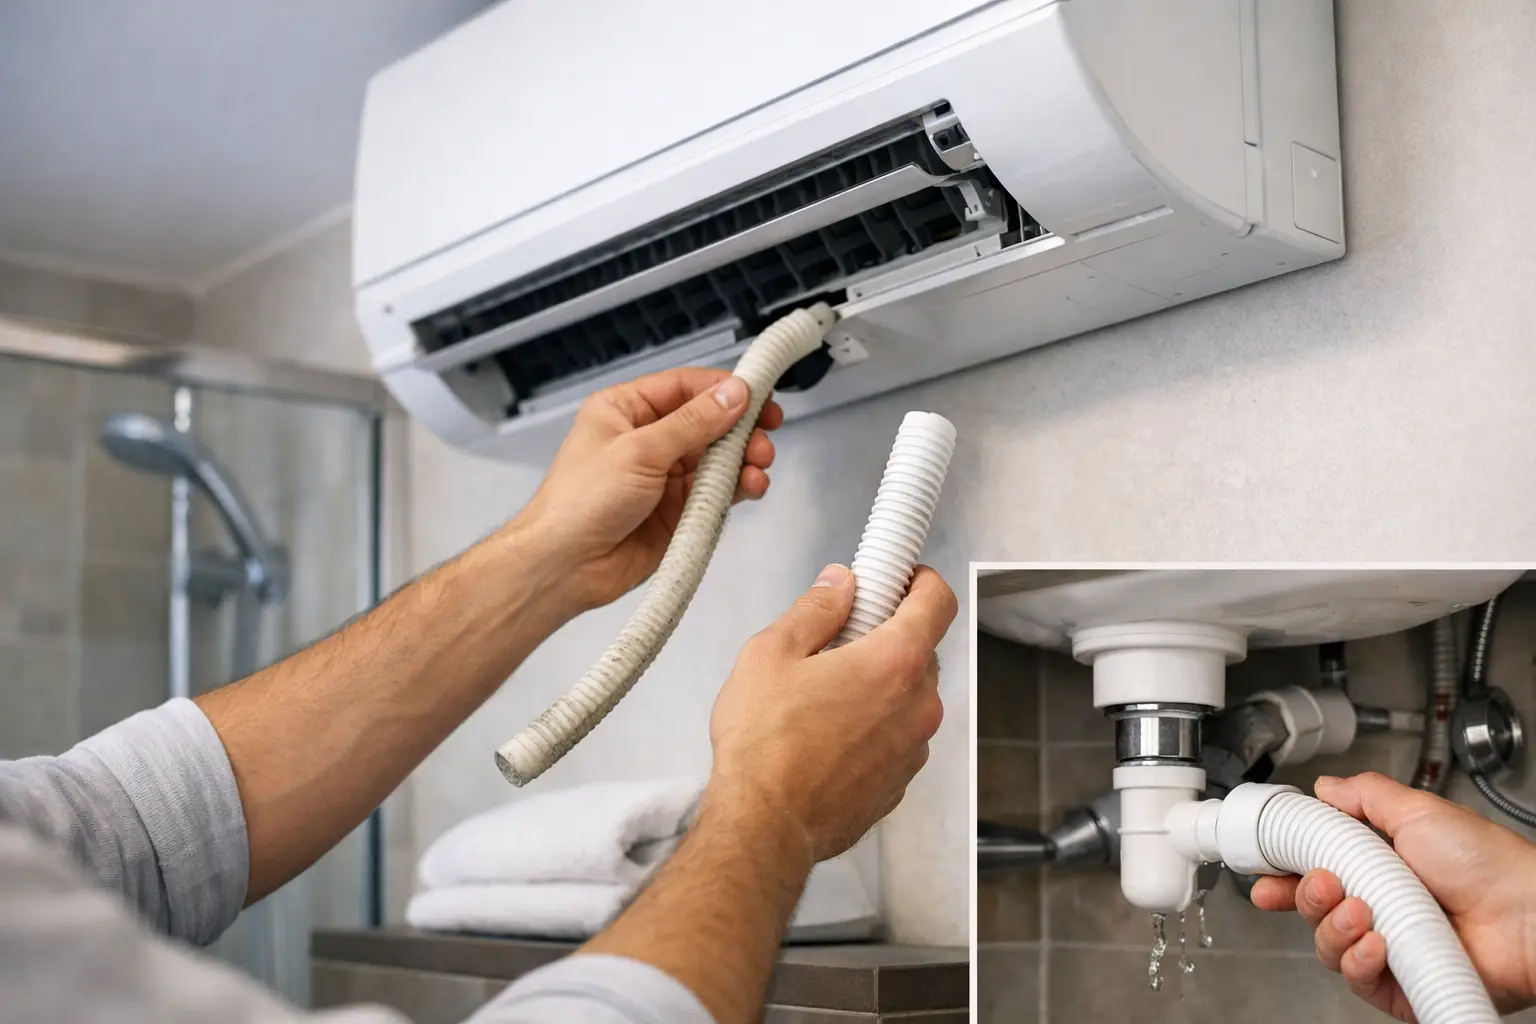
A damp patch beneath an indoor unit is rarely a refrigerant fault. More often, condensate has escaped from a loose, cracked or blocked drain line. Air conditioner drain hose replacement is usually a straightforward repair, but the hose is only one part of a drainage system that must carry water away reliably, maintain the correct fall and avoid drawing odours or air back into the unit.
For wall-mounted split air conditioners, the drain connection is normally located beneath or behind the indoor fan coil. Condensate forms on the evaporator coil during cooling and collects in an internal tray before leaving through this connection. If the water cannot drain, it may overflow into the room, damage finishes and encourage mould growth around the unit.
When does an air conditioner drain hose need replacing?
A hose should be replaced when it is split, brittle, permanently kinked, crushed behind a unit or no longer seals securely at either end. Flexible hose can harden with age, particularly where it is exposed to sunlight, high temperatures or cleaning chemicals. External sections may also suffer UV degradation, while concealed sections can be damaged by rodents, building movement or an over-tight cable tie.
Do not assume every leak means the hose has failed. A blocked drain line can produce exactly the same symptom, as can a dirty condensate tray, an incorrectly levelled indoor unit or a drain route that rises before falling. Inspect the full run before ordering parts. If the hose is sound but the obstruction is local, cleaning may be the more sensible repair.
Signs that point towards a replacement include visible cracking, water escaping at a joint, staining around a hose connection, repeated leaks after clearing the line, or a hose that has flattened and cannot retain its internal bore. A musty smell can also indicate stagnant condensate in a poorly routed line, although the tray and coil should be cleaned at the same time.
Choose the right drain hose and fittings
Compatibility is more than choosing a hose that looks similar. Measure the outside diameter of the indoor unit’s drain stub and the internal or external diameter of the existing hose, depending on how the connection is made. Some systems use a flexible hose pushed over a spigot; others connect into rigid condensate pipe through an adaptor. A hose that is slightly too large may weep at the joint, while one that is too small can split during fitting or restrict flow.
Check the hose material as well. Flexible PVC condensate hose is common for short internal connections and routes through trunking. Corrugated hose can bend easily, but its internal ribs collect debris more readily than a smooth-bore pipe. For long runs, rigid condensate pipe with suitable elbows and connectors is often easier to support, clean and maintain. The best arrangement depends on access, route length and whether the pipework will remain visible.
Also consider the installation environment. Outdoor pipework needs protection from sunlight and physical damage. Pipework in an unheated area needs consideration for frost risk. Where the route enters a soil pipe or waste connection, a suitable siphon or trap arrangement may be required to prevent odours, air movement or contamination affecting the condensate line. The correct arrangement depends on the appliance design and local drainage requirements.
Avoid using garden hose, undersized aquarium tubing or improvised sealants. These materials may not fit securely, can collapse at bends and make future servicing harder. Purpose-made condensate hose, connectors, clips, pipe supports and drainage accessories create a serviceable installation rather than a temporary patch.
Plan the condensate route before fitting the new hose
Gravity drainage works only if water has a continuous route downhill from the indoor unit to its approved discharge point. The fall does not need to look dramatic, but it must be consistent. A low point, upward loop or sagging hose creates a water pocket where sludge can collect. Eventually, the restriction slows drainage and water backs up into the tray.
Start at the indoor unit and trace the planned path to the outlet. Keep bends gradual where possible and minimise joints hidden inside trunking or walls. Support the hose or pipe so it cannot sag over time. If the line passes through a wall, protect it from sharp edges and seal the penetration appropriately without trapping the drain pipe in a position where it cannot be inspected.
The discharge point matters. Condensate must be directed where it will not stain a façade, drip onto a walkway, affect a neighbour’s property or re-enter the building. It should not discharge onto electrical equipment. A visible termination can make future checks easier, but it needs to remain protected from blockage by leaves, insects and debris.
Where a continuous gravity fall is impossible, a condensate pump may be required. This is common where the indoor unit is below the available drain connection or where pipework must rise to reach a suitable route. A pump is not automatically a better solution: it adds electrical components, a reservoir and maintenance requirements. Select a pump that suits the unit’s condensate output, available installation space, lift requirement and noise expectations, then provide access for cleaning and testing.
How to carry out air conditioner drain hose replacement
Before starting, switch off the air conditioner at its isolator or supply circuit. Water and electrical components are a poor combination, particularly around a fan coil concealed above a ceiling or inside a casing. Protect the wall and floor below the unit with absorbent cloths, and have a shallow container ready for residual water from the old line.
First, gain access to the drain connection without forcing the unit or disturbing the refrigerant pipework. The drain hose is separate from the refrigerant lines, but the pipe bundle is easily damaged if it is pulled or bent aggressively. Remove the old hose from the drain stub and inspect the stub for cracks, dirt or old adhesive. Clean it carefully so the replacement hose can seat fully.
Cut the new hose squarely with a clean edge. A ragged cut can prevent a connector from sealing. Push the hose fully onto the unit connection or adaptor, following the unit manufacturer’s fitting method. Use a correctly sized clip where the connection requires one, but do not over-tighten it to the point that the hose deforms. Route the hose with a continuous fall and secure it at sensible intervals using clips or supports.
If joining flexible hose to rigid pipe, use a purpose-made connector that matches both diameters. Dry-fit the full route before permanently securing it. This reveals whether a bend is too tight, a support is missing or the final outlet sits higher than expected. Keep joints accessible wherever practical, especially in ceiling voids and service trunking.
Once installed, test drainage before closing covers or refitting panels. Pour a small, controlled amount of clean water into the condensate tray only if access and the appliance instructions allow it. Alternatively, run the unit in cooling mode long enough for it to produce condensate. Watch the full route, including every joint and the outlet, for seepage or slow flow.
Common faults that a new hose will not solve
If water still appears indoors after replacement, stop and investigate rather than adding more sealant. A blocked tray outlet, heavy biofilm within the indoor unit, a unit that is not level or a drain line with an unseen rise can all defeat a new hose. In ducted systems, access may be more complex and a blocked secondary tray or float safety switch may need professional attention.
Repeated blockages can indicate poor maintenance rather than poor hose quality. Clean filters help preserve airflow across the evaporator coil. Restricted airflow can make the coil excessively cold, leading to ice formation and a larger volume of water when it thaws. The drainage system then has to manage an abnormal surge rather than ordinary condensate.
A gurgling drain, unpleasant odours or water that appears to move backwards may indicate a missing or unsuitable trap arrangement. This is particularly relevant where condensate connects to a waste system or where pressure differences around air-handling equipment affect the line. The remedy depends on the appliance and drain configuration, so it should be assessed as a system rather than treated as a hose problem alone.
A repair worth making properly
A correctly sized, supported condensate hose is a small component with a large job: it protects the indoor unit, finishes and surrounding air quality from unnecessary moisture. Replace damaged hose with compatible materials, preserve a continuous fall and test the route before hiding it behind trunking. If the route cannot drain by gravity or the leak persists after these checks, a qualified air-conditioning engineer can identify whether the underlying issue lies in the tray, pump, unit level or drainage design.