Blog
Extractor Fan Backdraft Shutter: When You Need One

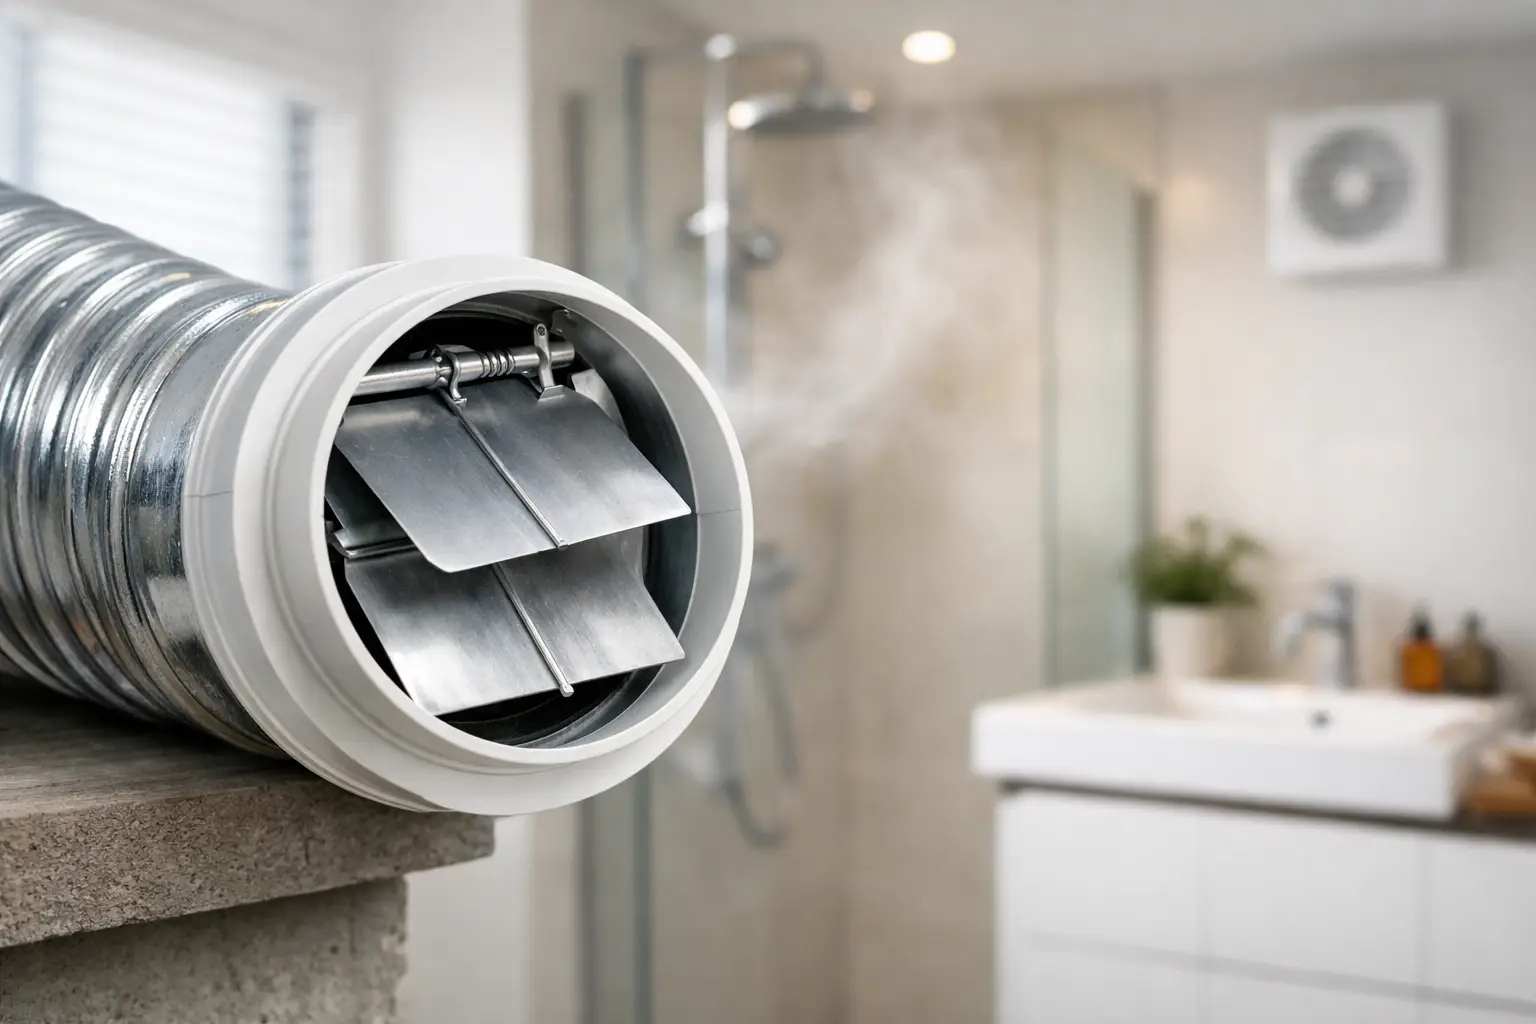
A bathroom fan can be correctly sized, neatly installed and still allow a surprising amount of cold air back into the room when it stops. An extractor fan backdraught shutter, also called a non-return shutter or backdraught damper, closes the duct when there is no extract airflow. Used in the right place, it helps prevent draughts, outdoor odours and air movement between rooms. Used badly, it can reduce the fan’s real airflow, create rattling or stop the shutter opening reliably.
The decision is not simply whether to fit one. It is whether the shutter is compatible with the fan, duct route and external termination.
What an extractor fan backdraught shutter does
An extractor fan creates a pressure difference that pushes moist or stale air through the duct and outside. Once the fan switches off, that pressure difference disappears. A duct connected to an external wall or roof terminal can then become a route for cold outdoor air, wind-driven air or smells to travel back towards the room.
A backdraught shutter has lightweight flaps that open under the fan’s airflow and close when the airflow stops. Some are gravity-operated; others use a light spring. They may be built into the fan spigot, fitted as an inline duct accessory, or incorporated into an external grille.
Their main purpose is to limit reverse airflow. This is particularly useful in bathrooms, utility rooms and kitchens with a short duct run to an external wall. It can also help where two extract points connect to a shared duct arrangement, although a properly designed system is essential in that situation.
A shutter does not make up for an undersized fan, a blocked external grille or poor ducting. If humidity remains after showering, the first priority is adequate extract capacity and a low-resistance duct route, not adding more components to it.
When a backdraught shutter is worthwhile
A shutter is usually sensible where an intermittent extractor fan discharges directly outdoors and the room feels cold or draughty with the fan off. It is also useful if wind causes the fan impeller to spin backwards, or if outdoor traffic, cooking or smoke odours are noticeable near the grille.
For a bathroom fan with a short, straight 100 mm or 125 mm duct through an external wall, an integrated shutter or a compatible inline model is often a straightforward addition. The short route gives the fan a good chance of opening the flaps fully.
The answer is less clear on a long duct run, particularly one with several bends, flexible ducting or a restrictive roof terminal. Every bend, corrugation and accessory adds resistance. A small axial fan may have enough nominal airflow on its product label but insufficient available pressure to open a stiff shutter properly once installed. The result can be weak extraction, longer run-on times and condensation that does not clear.
Continuous-running ventilation needs extra care. These low-energy fans are designed to move a modest background airflow for long periods. A spring-loaded damper or multiple shutters in series may restrict that airflow enough to undermine the system’s intended performance. Check the fan manufacturer’s approved accessory options and its airflow at the expected system resistance rather than relying on free-air figures.
Choose the shutter type for the duct route
The most suitable design depends on where backflow is occurring and how much pressure the fan can develop.
Integrated fan shutters
Many wall and ceiling fans include a shutter behind the front cover or at the outlet spigot. This is compact and avoids adding another joint in the duct. It is normally the best starting point, provided the fan is installed in the orientation specified by its manufacturer. A gravity flap fitted in the wrong orientation may stay partly open or fail to open fully.
An integrated shutter may be adequate for a sheltered external wall but not for a highly exposed façade. Strong winds can still affect the external terminal, so the complete arrangement matters.
Inline non-return dampers
An inline damper fits into rigid or flexible round ducting, typically close to the fan or at a point where one branch joins another. It can be useful where the fan has no built-in shutter or where air is travelling between connected rooms.
Select the same nominal diameter as the duct and fan connection. Reducing a 125 mm duct to accept a 100 mm shutter creates a significant bottleneck. The damper should sit squarely in the duct, with its airflow arrow pointing towards the discharge point. Seal joints properly and support the duct so its weight does not distort the shutter body.
External grilles with gravity louvres
An external grille with closing louvres protects the end of the duct from rain, insects and backflow. It is a practical choice for an exposed external wall, but its louvres must open freely and remain accessible for cleaning. Dirt, paint overspray and insect debris can make them stick.
Avoid assuming that an external louvred grille and an internal damper are always better together. Two closure devices add resistance. In a short, well-designed run this may be acceptable; with a lower-pressure fan or complex duct route, one correctly selected shutter is often the better approach.
Airflow and pressure matter more than flap count
A backdraught shutter should open easily at the airflow the fan actually delivers in the completed installation. That delivered airflow is lower than the fan’s free-air rating whenever it has to work through ducting, bends, terminals and filters.
Axial bathroom fans generally suit short, straight duct routes. If air has to travel further, pass through several bends or discharge through a roof, an inline mixed-flow or centrifugal fan may be more appropriate because these fan types are designed to work against higher system pressure. The shutter should then be selected as part of that system, not as an isolated accessory.
Noise is another useful diagnostic. A clicking flap at start-up or shut-down can be normal. Repeated rattling while the fan runs suggests unstable airflow, wind affecting the terminal, a loose component or a shutter that is not opening fully. Do not silence it by taping the flaps open: that removes the protection and masks the cause.
Installation details that affect performance
The duct route should rise gently towards the external outlet where practical, so condensation does not collect and run back towards the fan. Keep it as short and straight as the building layout permits. Rigid smooth duct usually offers lower resistance than long lengths of flexible duct; if flexible duct is necessary, keep it taut rather than compressed or sagging.
Check that the shutter can be inspected. A damper buried above a ceiling without an access route may become difficult to clean or replace if it starts sticking. In cold areas such as loft spaces, insulated ducting can reduce condensation on the outside of the duct. This is separate from backflow control, but both measures support more reliable bathroom extraction.
For ceiling-mounted fans, orientation is especially important. Follow the product instructions for the shutter and external terminal, including any permitted mounting positions. Also ensure the duct diameter remains consistent from fan to outlet and that the external grille is not covered by a mesh so fine that it clogs quickly.
Electrical work and alterations to ventilation systems should be planned in line with applicable building requirements and product instructions. In wet rooms, use a suitably rated fan and arrange isolation for safe maintenance.
Common faults and practical checks
If the room becomes draughty after a new fan is installed, first inspect the external grille. A missing flap, warped louvre or poorly sealed duct connection can be the cause. Then check whether the fan itself has a built-in shutter and whether it was removed, damaged or fitted in the wrong position during installation.
If extraction worsens after fitting a damper, remove power safely and inspect the flaps. They should move freely without catching on duct tape, screws or distorted flexible duct. Verify that the damper diameter matches the duct and that the airflow direction is correct. A shutter installed backwards may remain shut when the fan starts.
Condensation on windows despite a working shutter points to a different problem: insufficient extraction time, inadequate airflow, excess moisture production or limited replacement air entering the room. A humidity-controlled fan or a fan with an appropriate overrun can help, but only after the duct system is able to move air effectively.
A better buying decision starts with the full system
Before choosing an extractor fan backdraught shutter, identify the fan connection diameter, the duct length and material, number of bends, mounting orientation, outlet type and whether the fan runs intermittently or continuously. These details determine whether a lightweight integrated flap, an inline damper or a closing external grille is the sensible option.
HavenPoint’s ventilation range is designed around that system view: fan performance, ducting, terminals and accessories need to work together. A correctly matched shutter should be almost unnoticeable in daily use – it opens when extraction is needed, closes when it is not, and does not become the reason a room stays damp.