
Knowledge hub
How to Prevent Bathroom Condensation Effectively
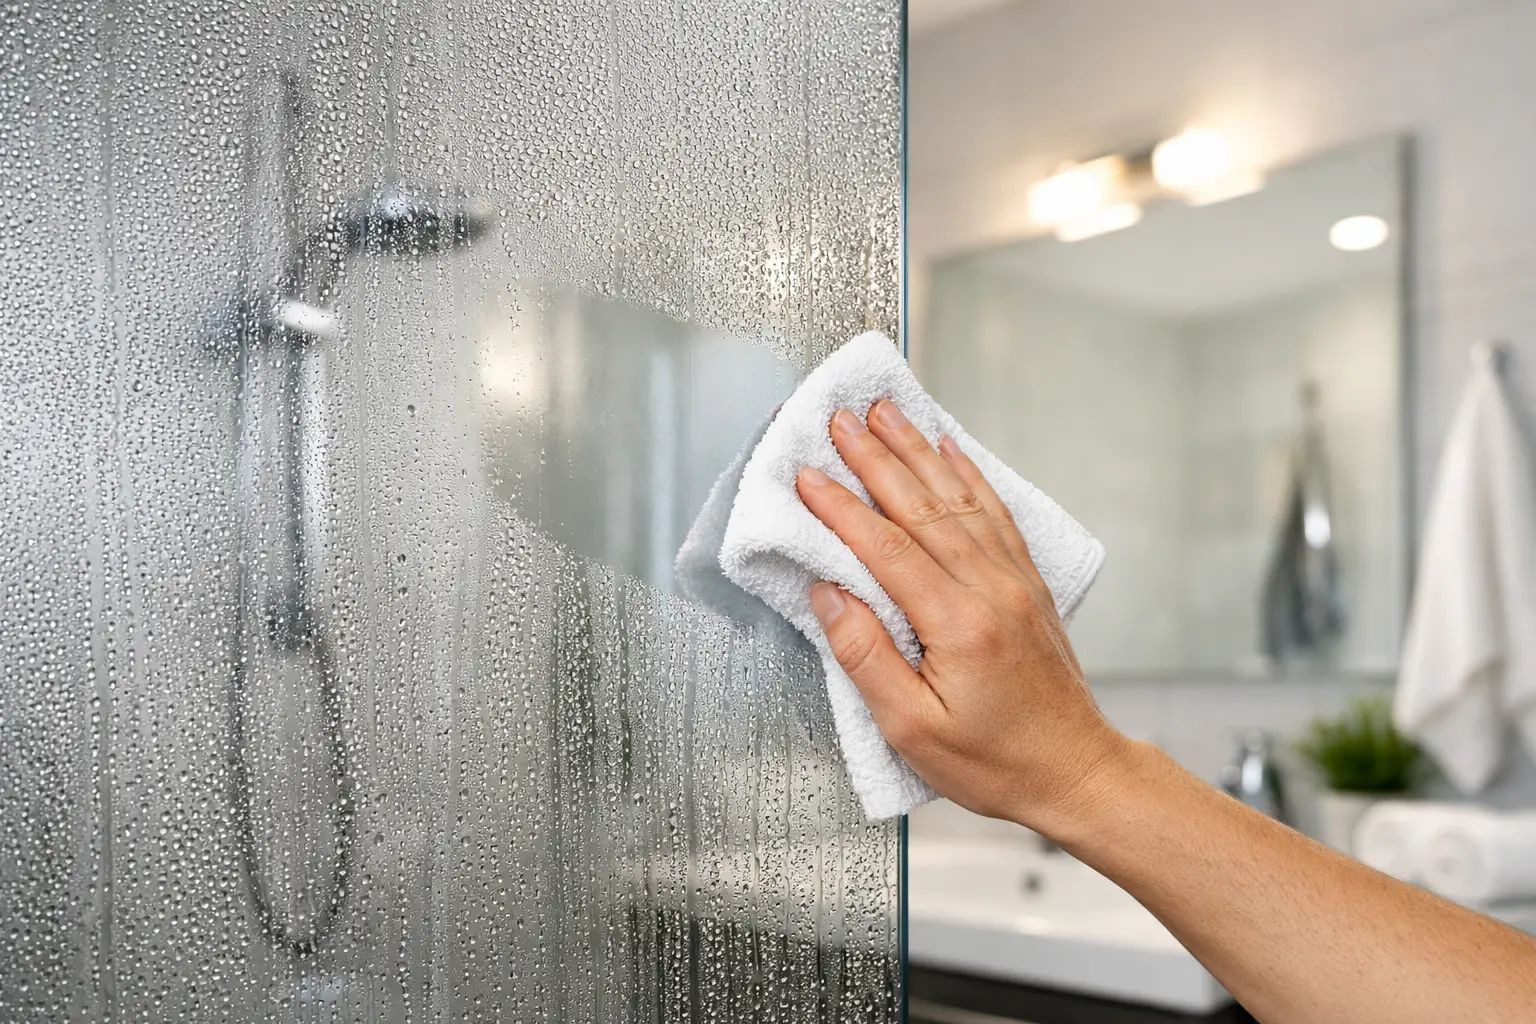
A bathroom mirror steaming up after a shower is normal. Water running down the walls, persistent damp patches around the window or black mould at ceiling level are not. Knowing how to prevent bathroom condensation means managing moisture at the point it is created, then moving humid air out before it can settle on colder surfaces.
A typical shower can release a substantial amount of water vapour into a small enclosed room. If the room is cold, the air reaches its dew point quickly and that vapour turns back into liquid on tiles, glazing, external walls and the ceiling. The practical answer is rarely one product alone. Effective condensation control depends on extraction, a clear replacement-air path, sensible heating and a bathroom envelope without major cold spots.
Why bathroom condensation becomes a problem
Condensation forms when warm, moisture-laden air meets a surface colder than the dew point. Bathrooms are especially prone because showering, bathing and drying towels all increase relative humidity, while tiled surfaces and single or poorly insulated glazing can remain cool.
The visible water is only part of the issue. Repeated wetting can damage paint, swell timber-based furniture, degrade silicone joints and create conditions in which mould grows. Mould is often blamed on cleaning, but it is principally a moisture and ventilation issue. Cleaning removes the visible growth; reducing the period that surfaces remain damp addresses the cause.
A useful distinction is between a brief period of misting after a shower and humidity that remains for hours. If the mirror, walls and window are still wet well after the bathroom is empty, extraction or airflow is inadequate, the room is too cold, or both.
How to prevent bathroom condensation with extraction
Mechanical extraction is the most dependable way to remove humid air, particularly in internal bathrooms without an opening window. An extractor fan should remove air directly outdoors through suitable ducting, not into a loft, ceiling void or neighbouring room. Discharging moisture into an unventilated void can transfer the problem to roof timbers, insulation and ceilings. Browse our full range of Bathroom Extractor Fans to find the right solution for your bathroom size, installation type and humidity level.
For a bathroom, air extraction is normally specified in litres per second or cubic metres per hour. In England, the commonly referenced minimum intermittent extract rate for a bathroom is 15 l/s, equivalent to 54 m³/h, while continuous systems are assessed differently. These figures are a baseline for regulatory compliance, not always a guarantee of rapid drying. A busy family bathroom, a room with a powerful shower, or a long duct route may need a fan selected for higher real-world airflow and sufficient pressure capability.
Fan airflow on the box is not the airflow in the room
Many standard axial fans perform acceptably through a short, straight wall duct. Their airflow can drop sharply when connected to several metres of flexible ducting, bends, external grilles and backdraught shutters. Every restriction creates resistance, measured as static pressure. Where a duct run is long or convoluted, an Inline Duct Fans or centrifugal fan often maintains extraction more effectively than a basic axial model.
Duct diameter matters too. A fan designed for 100 mm ducting should not be forced through a reduced duct section. Smaller ducting increases resistance, noise and the likelihood that the stated airflow will not be achieved. For higher-capacity systems, 125 mm or 150 mm ductwork may be appropriate, provided it suits the fan connection, wall terminal and available installation space.
Keep duct runs as short and straight as practical. Use rigid, smooth-wall ducting where possible, seal joints properly and avoid crushed flexible duct. If flexible duct is necessary Flexible Air Ducts, pull it taut rather than leaving it concertinaed. A correctly sized external grille is equally important: an undersized grille can restrict a well-specified fan.
Choose controls that match how the bathroom is used
A fan switched only with the light can be effective, but it needs a run-on timer. The shower may finish when the light is turned off, yet the room still contains a large moisture load. A timer setting of around 15 to 30 minutes is often a sensible starting point, although the correct duration depends on bathroom volume, shower use and fan performance.
Browse Bathroom Fans with Timer
Humidity-sensing fans offer a more responsive approach. A humidistat starts or boosts extraction when relative humidity rises above a set point, then continues until the level falls. This is useful in households where people forget to leave the fan running, and in bathrooms with daylight where the light switch is not always used. Avoid setting the threshold too low, as the fan may run unnecessarily during naturally humid weather.
View all Humidity Sensor Bathroom Fans
Continuous-running extract fans use low-speed background ventilation and boost during bathing. They can provide consistent moisture control and are particularly suitable where the bathroom suffers from recurrent condensation. Their success depends on careful commissioning, adequate replacement air and a model with sound levels acceptable for the location. A low quoted dB(A) figure is valuable, but check the measurement conditions and whether the figure applies at trickle or boost speed.
Give the fan air to replace what it removes
An extractor cannot remove air efficiently if the bathroom is sealed. As humid air leaves, replacement air must enter from the rest of the dwelling. Usually, this is provided by a gap beneath the door or a properly sized transfer grille.
A door that seals tightly to the floor may leave the fan struggling against negative pressure. The result can be poor extraction despite a fan that appears to be running normally. If air is visibly being pulled through the gap under the door when the fan operates, that is generally a positive sign. However, avoid relying on an open window alone in winter. It may provide airflow, but it also cools bathroom surfaces and can increase condensation once it is closed.
Where a home has mechanical ventilation with heat recovery, ensure the bathroom extract valve is clean, correctly adjusted and not blocked by decoration. Do not alter valve settings at random: system balance affects airflow throughout the property and should be checked with appropriate measuring equipment.
Keep surfaces warm enough to stay dry
Ventilation removes moisture, while heating reduces the chance of that moisture condensing. A bathroom that is allowed to become very cold between uses will have colder walls, glazing and tiles. When a shower starts, the air can reach dew point almost immediately.
A controlled heating schedule that brings the room up to temperature before normal shower times can help. Heated towel rails improve towel drying and comfort, but their heat output alone may be insufficient for the whole room. Consider the room’s size, insulation level and the output of the existing heating system before treating a towel rail as the primary heat source.
Insulation and glazing also matter. Cold bridges around window reveals, poorly insulated external walls and uninsulated pipework can create local condensation even where the fan is adequate. If condensation is concentrated in one place, investigate that surface rather than simply increasing fan running time. Persistent moisture around a window may indicate failed seals, poor insulation or a ventilation issue; it can be more than one of these at once.
Drying clothes in the bathroom adds a substantial moisture load. If it cannot be avoided, run extraction for longer and keep the door closed to prevent humid air spreading through the home. A dehumidifier can be useful during drying or after a temporary ventilation failure, but it should not be used to disguise a fan that is undersized, poorly ducted or not vented outdoors.
Select a bathroom fan by the installation, not just the room
The right product starts with the installation constraints. Measure the duct diameter, estimate the total duct length, count bends and identify whether the fan is wall-mounted, ceiling-mounted or located remotely in a loft or service void. Then consider the bathroom volume, frequency of use and control preference.
For a short external-wall route, a quiet 100 mm axial fan with a timer or humidity sensor may be sufficient. For a ceiling installation with a longer duct run, select a model with enough static pressure to overcome the duct resistance. An inline fan can reduce noise at the bathroom grille because the motor sits away from the room, although it needs accessible installation space and appropriate mounting to prevent vibration transfer.
Check the electrical and environmental specification. Bathroom fans must have an IP rating suitable for their zone, and installation should comply with current electrical requirements. Also check whether a backdraught shutter is included, whether it is compatible with the duct arrangement, the supply voltage, power consumption, sound level, airflow at operating pressure and the diameter of both spigots and duct connectors.
For trade and renovation projects, the accessories are not secondary details. Compatible rigid or flexible ducting, connectors, external terminals, condensation traps where required, mounting brackets and sealed joints determine whether the system performs as designed. HavenPoint focuses on these compatibility details because a high-quality fan can still underperform when installed with restricted or poorly sealed ductwork.
Maintain the system before performance falls away
Dust on a grille, lint in a backdraught shutter and dirt on a humidity sensor can all reduce effectiveness. Clean the visible grille regularly with the power isolated, and inspect accessible ducting and external terminals for obstruction. A fan that becomes louder, runs intermittently or leaves the room humid may need cleaning, repair or replacement.
After showering, wipe down heavy deposits of water from glazing and screens, then leave the extractor running long enough to clear the remaining moisture. This simple habit reduces the burden on paintwork, seals and ventilation equipment.
The best result is a bathroom that dries reliably without needing an open window, a permanently running dehumidifier or daily mould treatment. Start with a correctly ducted extractor, make sure replacement air can enter, and then deal with any cold surfaces that keep attracting moisture.
Recommended products
For short duct installations Bathroom Extractor Fans
For long duct runs Inline Duct Fans
For humidity-controlled ventilation Humidity Sensor Bathroom Fans
For timer-controlled ventilation Bathroom Fans with Timer
Recommended ducting Flexible Air Ducts